
Table of Contents
- Go to: https://www.microsoft.com/en-us/software-download/windows10ISO
- Click the Select edition dropdown menu and select Windows 10.
- Click Confirm.

- Select the product language and click Confirm again.
- Download either the 64-bit or the 32-bit version of Windows 10.
- MacBook introduced in 2015 or later
- MacBook Air introduced in 2012 or later
- MacBook Pro introduced in 2012 or later
- Mac mini introduced in 2012 or later
- iMac introduced in 2012 or later
- iMac Pro (all models)
- Mac Pro introduced in 2013 or later
This list DOESN’T include Macs with Apple’s M1 chip because Boot Camp only works on Intel-based Macs.
You also need 64 GB or more free storage space on your Mac startup disk, a Windows 10 disk image (see the How to Get Windows for Mac chapter), and a USB flash drive with a storage capacity of 16 GB or more (unless your Mac doesn’t need a flash drive to install Windows). If you meet all these requirements, then you can simply follow the instructions below. To run Windows on a Mac via Boot Camp:- Go to Applications > Utilities and launch Boot Camp Assistant.

- Read the introduction and click Continue to proceed.

- Choose the Windows ISO file you’ve obtained earlier.

- Select the Boot Camp partition size (we recommend at least 64 GB) and click Install.
- Wait for Boot Camp Assistant to do its job until your Mac restarts and you see the Windows Setup screen.
- Install Windows on the BOOTCAMP partition.
- Boot into Windows and wait for the Boot Camp installer to appear. Follow the instructions to set up drivers and everything else necessary to dual boot Windows on a Mac computer.
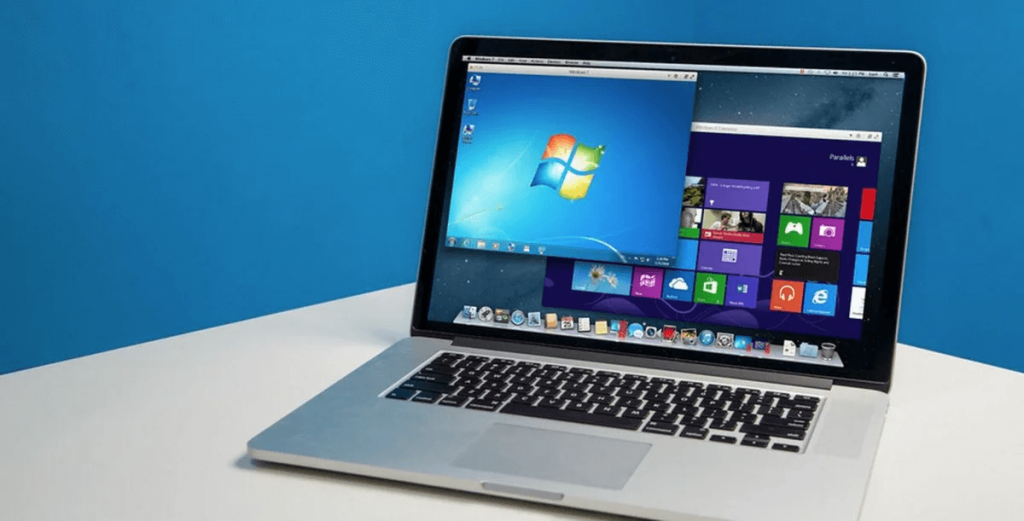
In addition to installing Windows alongside macOS on your hard drive, you can also run Windows in a virtual machine directly from macOS. This way, you can easily access both operating systems at the same time and transfer files between them without restarting your Mac.
To run Windows in a virtual machine on Mac, you need to install virtualization software. The two most popular solutions at the time of writing this article are VMware Fusion and VirtualBox. The former is proprietary software that costs $199 for the Pro version, while the latter is open-source and available for free.
Unless you plan on using Windows in a virtual machine on a daily basis, we recommend you start with the free solutions and consider purchasing a VMware Fusion license only if VirtualBox fails to meet your expectations and requirements.
Just keep in mind that VirtualBox (just like VMware Fusion) runs only on Intel-based Macs. Apple computers with the new M1 chip are NOT supported. To virtualize Windows on M1 Macs, you need an emulator like QEMU (and a lot of time and patience).
To install Windows on a Mac using VirtualBox:
- Obtain Windows 10 disk image (see the How to Get Windows for Mac chapter).
- Download and install VirtualBox on your Mac.
- Launch VirtualBox and click the New button in the top-left corner.

- Choose a descriptive name of the virtual machine and select Windows 10 as the version. Click Continue.

- Select the amount of memory you want to allocate to the virtual machine (Windows 10 requires at least 1 GB for 32-bit or 2 GB for 64-bit). Click Continue.

- Choose the “Create a virtual hard disk now” option and click Create.

- When asked to select the hard disk file type, simply click Continue.

- Decide if you want to create a dynamically allocated or fixed virtual hard disk and click Continue. Dynamic disks take less storage space, but they are slower than fixed disks.

- Select the maximum size of the virtual hard disk (we recommend at least 64 GB) and click Create.

- Select the newly created virtual machine and click Settings.

- Go to the Storage tab and select the empty optical drive.
- Click the small disk icon and click the “Choose a disk file…” option.

- Select your Windows 10 ISO file and click Open.

- Close the Settings window by clicking OK.
- Start the virtual machine and install Windows 10 just like you would on a real computer.

Although there are many steps to complete, the entire process (except for the actual installation of Windows 10) takes just a few minutes to complete.